Seathwaite Fell
Distance: 13.2km (8.2 Miles)
Ascent: 531m (1742ft)
Duration: 6 Hours 9 Minutes
Seathwaite Fell was the only goal for today and with only a few options of ascent I decided on a route that takes in as much as possible including Styhead Tarn and Sprinkling Tarn to make the most of the dramatic weather.

Early morning cloud hanging in the bottom of the valley. Hopefully we will see some inversions later.

Seathwaite Fell coming out of the cloud.

Now at Stockley Bridge and time to start the ascent up the side of the valley to Styhead Tarn.

The side of Base Brown.

Breaking cloud in Borrowdale.

The sun is really burning through the cloud. It was so dramatic and lovely to see.

Seathwaite Fell. The craggy bit to the left is Aaron Crags.

Just above the trees alongside Taylorgill Force which cannot be seen from this path.

Base Brown.

A view down the length of Borrowdale.

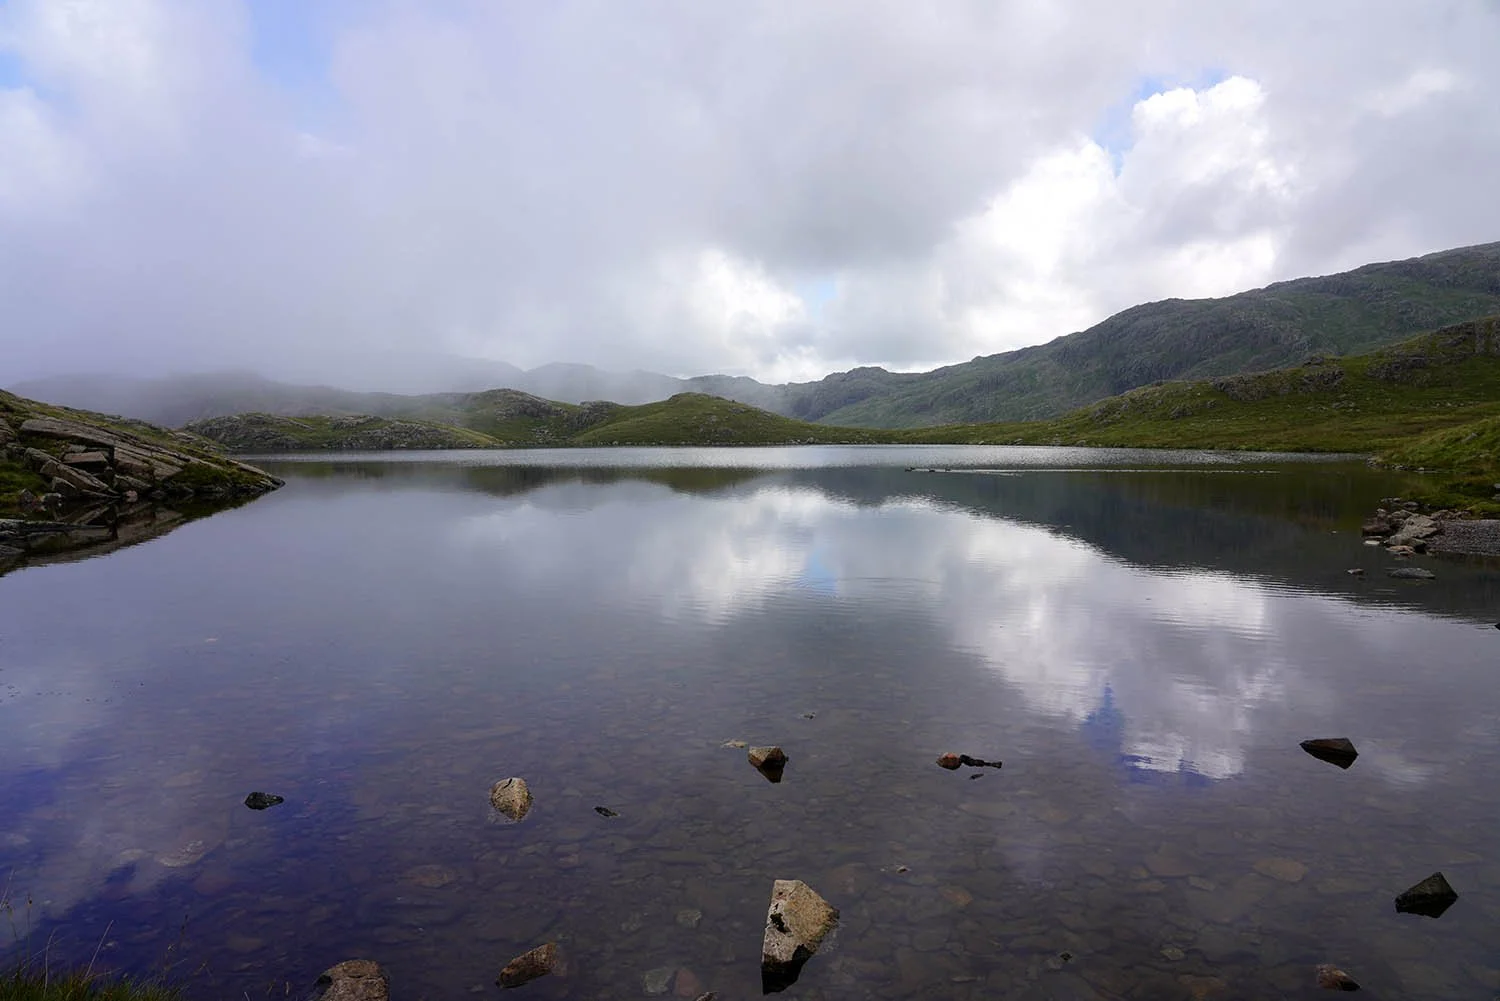
Styhead Tarn was absolutely stunning today. Just a gentle ripple on the water which reflected Great End perfectly.

Now at Sty Head with a view to Scafell Pike and Lingmell. The massive canyon is Piers Gill.

Great End and Skew Gill.

Piers Gill and Lingmell.

Styhead Tarn from the path up to Sprinking Tarn.

Great and Green Gable.

Great End from Sprinkling Tarn.

And again from further along the ridge to Seathwaite Fell.

Seathwaite Fell summit cairn at 601m, overlooking Borrowdale.

Borrowdale from Seathwaite Fell.

Base Brown.

Glaramara.

A distant view to Blencathra.

A final view of Borrowdale before heading back along the ridge to Sprinkling Tarn.
Sprinkling Tarn. Just before arriving here the cloud really moved in covering the summit of Seathwaite Fell.

Looking to Skiddaw and Castle Crag on the descent along Ruddy Gill.

Waterfalls along Ruddy Gill.

Back down at Stockley Bridge.

Taylorgill Force.